Most people meet the night sky through bright, obvious objects: the Moon, planets, a handful of constellations. The deep sky—galaxies, nebulae, clusters—often remains a faint rumor, something seen in glossy images but not personally experienced.
From Casual Stargazing to Scientific Seeing
Yet with a modest telescope or even binoculars, you can begin to observe the deep sky in a way that mirrors how professionals work: methodically, comparatively, and with an eye for physics, not just aesthetics.
This guide shows you how.
1. Know Your Tools: Matching Equipment to Deep-Sky Targets
You don’t need a research-grade observatory, but you do need to understand what your gear does well.
1.1 Aperture and Faint Light
Deep-sky objects are mostly extended and faint. The key specification is aperture—the diameter of your main lens or mirror.
- 7–10×50 binoculars: wide fields, ideal for bright clusters and large nebulae.
- 4–6 inch (100–150 mm) refractor or reflector: solid all-rounders for clusters and brighter galaxies.
- 8–12 inch (200–300 mm) reflector or SCT: opens up detail in galaxies, planetary nebulae, and globular clusters.
Larger aperture gathers more light, but sky quality matters more than size beyond a point. A 6-inch under dark skies will outperform a 12-inch under heavy light pollution for most deep-sky targets.
1.2 Magnification and Exit Pupil
High magnification is not the goal for most deep-sky objects. You want an exit pupil (aperture divided by magnification) between ~2–5 mm for general work.
Rule of thumb:
- Low power (3–5 mm exit pupil): framing large nebulae and galaxies.
- Medium power (2–3 mm): teasing out structure, splitting cluster members.
- High power (≤2 mm): planetary nebulae, galaxy cores, resolving globular cluster stars.
1.3 Filters and Sensors
- Nebula filters (UHC, OIII, H-beta) selectively transmit emission lines, dramatically improving contrast on emission and planetary nebulae.
- No filter is usually best for galaxies, which emit broadly across the spectrum.
- CMOS/DSLR cameras on modest mounts can stack many short exposures ("electronically assisted astronomy") to reveal detail invisible to the eye.
2. Choose Your Deep-Sky Program: Think Like a Survey
Professional astronomers rarely chase random targets; they build programs—coherent sets of observations designed to answer questions.
You can do the same at the amateur level.
2.1 Example Programs
Star-Formation Sequence Program
- Observe: Orion Nebula (M42), Lagoon (M8), Eagle (M16), Trifid (M20) - Goal: Compare star-forming regions in different environments. - Focus on: Shapes of dark dust lanes, brightness of central clusters.
Galaxy Morphology Program
- Observe: Andromeda (M31, spiral), Bode’s Galaxy (M81, spiral), Sombrero (M104, spiral with large bulge), M87 (elliptical). - Goal: Train your eye to see structural differences. - Focus on: Core size, disk vs. halo, any hint of spiral arms.
Cluster Ages Program
- Observe: Pleiades (M45, young open cluster), Beehive (M44, intermediate), M67 (old open cluster), M13 (globular cluster, very old). - Goal: Note color differences and density to infer age.
By returning to the same objects over multiple nights and seasons, you start to see patterns, not just objects.
3. Observing Technique: Turn Your Eyes into an Instrument
3.1 Dark Adaptation and Averted Vision
- Spend at least 20–30 minutes away from bright lights.
- Use a dim red light for charts.
- Practice averted vision: look slightly to the side of the object; your retina’s rods (more sensitive to faint light) are off-center.
This is not a trick; it’s basic human visual physiology and vital for deep-sky observing.
3.2 Sketching Like an Astronomer
Even if you image, sketching forces careful, quantitative seeing.
- Use a printed circle representing your field of view.
- Place star patterns first, then shade in nebulosity or galaxy halos.
- Note: brightness gradients, orientation, any asymmetry.
Historical note: Many classic nebula and galaxy catalogs were built from such visual observations; they’re still used today for cross-comparison.
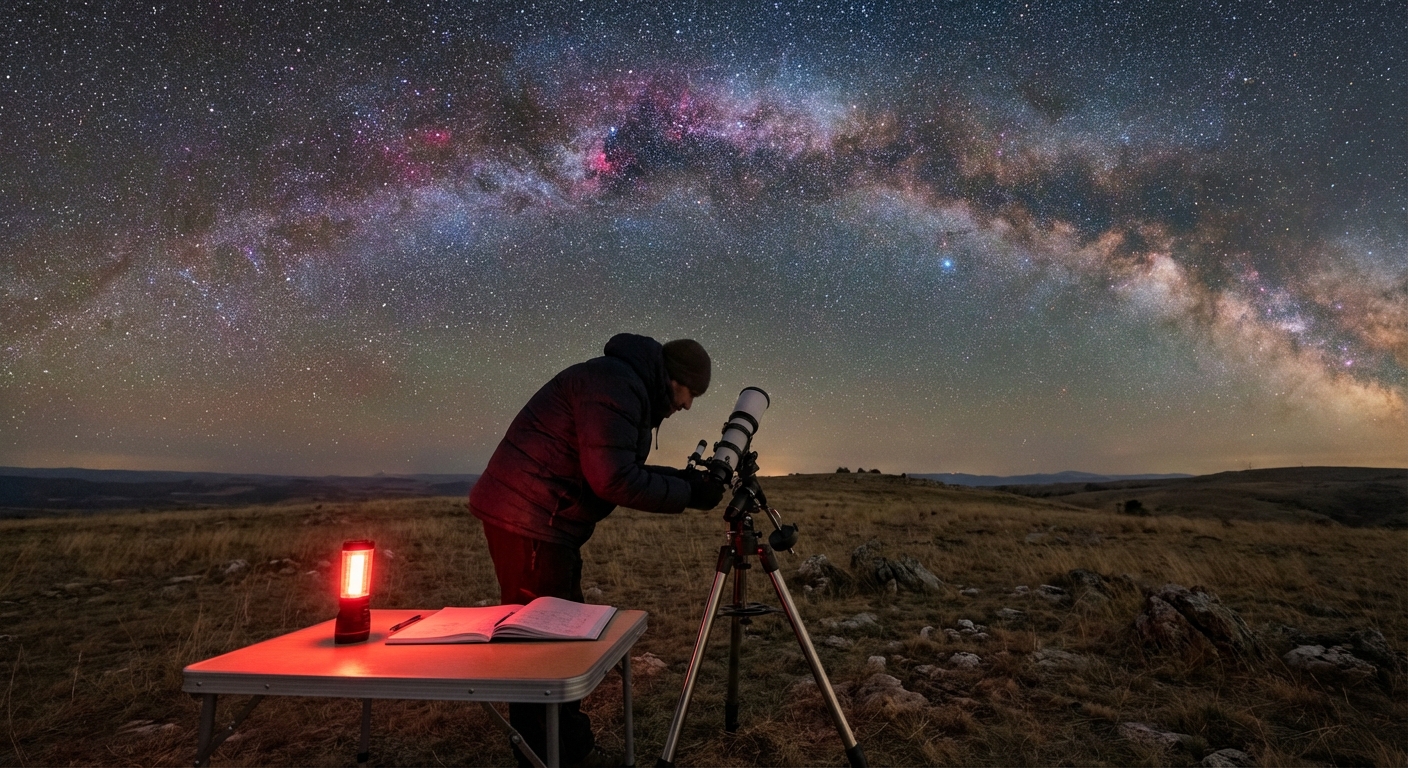
3.3 Systematic Notes
Treat your observing log as a lab notebook, recording:
- Date, time, and location.
- Instrument, magnification, filters.
- Sky conditions (seeing, transparency, limiting magnitude).
- Target name and coordinates.
- Detailed description: size, shape, brightness, context stars.
This makes your sessions repeatable and your impressions testable over time.
4. Connect Each Object to the Physics Behind It
Transforming your observations from "I saw a faint smudge" to "I glimpsed a star-forming region 1,300 light-years away" is about context.
4.1 Distances and Light Travel Time
Look up the distance to each object in a reputable catalog or database (SIMBAD, NED, or good atlases). Then translate that into look-back time:
- Andromeda (M31): ~2.5 million light-years → you see it as it was when Homo habilis walked Earth.
- M13: ~22,000 light-years → light left before recorded human history.
- Orion Nebula: ~1,300 light-years → roughly the time since the early Middle Ages.
Thinking in light-years makes every observation a kind of time travel.
4.2 Energetics and Environment
For each class of object, ask:
- What powers its light? (Starlight reflection, gas recombination, synchrotron emission?)
- What’s the dominant timescale? (Star lifetimes, expansion time, orbital periods?)
- How does environment matter? (Is it interacting with neighbors? In a cluster? In a spiral arm?)
Use reputable sources—NASA mission pages, ESO, academic press releases—to build a short "profile" of frequently visited targets.
5. Incorporate Modern Data: Citizen Science Meets Deep Sky
You can extend your backyard observations using professional survey data.
5.1 Compare Your View with Survey Images
Use tools like:
- Aladin Sky Atlas or WorldWide Telescope to overlay multiwavelength data.
- SDSS image cutouts for many galaxies.
Compare:
- What you see visually vs. what deeper, longer exposures reveal.
- How features emerge with longer integration and different filters.
5.2 Join Citizen Science Projects
Platforms like Zooniverse host projects where amateurs help classify galaxies (Galaxy Zoo), identify gravitational lenses, or spot transients.
Your deep-sky experience will:
- Sharpen your classification skills.
- Give you statistical exposure to morphology beyond a handful of showpieces.
6. Reading the Sky Over Years, Not Nights
Deep-sky objects don’t change rapidly to the eye, but our understanding of them does.
Stay current by:
- Following mission news from JWST, Hubble, Euclid, and Rubin Observatory.
- Comparing how descriptions of familiar objects evolve as new data comes in.
Examples:
- The Pillars of Creation in M16 looked one way in Hubble’s optical images; JWST’s infrared views reveal embedded stars and eroding structures in far more detail.
- Distant faint smudges once cataloged as featureless galaxies now show disks, bars, and star-forming clumps under JWST.
Each new dataset lets you revisit old friends with fresh theoretical eyes.
7. The Researcher’s Mindset at the Eyepiece
You don’t need a PhD or a mountain-top observatory to observe like a researcher. You need:
- Curiosity structured into programs, not random target hopping.
- Disciplined technique—dark adaptation, averted vision, careful noting.
- Physical context, connecting what you see to distances, energies, and timescales.
- Engagement with current science, situating your observations in a living field.
The deep sky rewards this approach with more than pretty views. It offers the feeling that, for an hour or two, your backyard has become one small node in humanity’s grand, ongoing investigation of the universe.